Setting up the Moto G for Xamarin.Android Dev
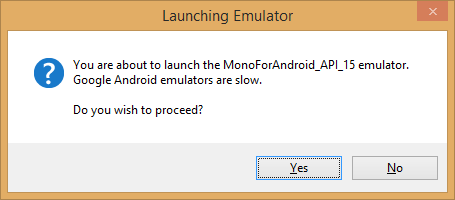
March 5, 2014The ability to build native apps for multiple platforms with Xamarin is pretty awesome. But developing apps for multiple platforms means you might “need” to get some new toys (not a bad thing if you’re like me :)). Personally I use a Windows Phone – I love the platform and have been on it since it came out. I have tons of WP devices lying around the house but not a single Android device (or iOS actually) – so I’ve simply been using Android emulators to do Xamarin.Android development. Unfortunately, the emulators are horribly slow… you even get a message warning you about it:
The Genymotion emulators are a pretty good alternative and James Montemagno has a great post on getting the x86 Android emulators working but it’s always nice to be able to debug and test on an actual device so I went ahead and purchased one.
The Motorola Moto G
I didn’t want to add a new line to my mobile plan so I picked up one of the “pay-as-you-go” no-contract Verizon phones – the Motorola Moto G. Normally these types of phones are lower end devices but the Moto G is actually a decent piece of hardware and it was only $99. It comes running Jelly Bean (4.3) and can be upgraded to KitKat (4.4).
When you fire the Moto G up for the first time it will ask you “activate” it and tries to get you to setup a monthly plan. At first it almost seems like you can’t get around this, but you can.
Setting the Moto G up for development
Turn on USB debugging
In order to use the Moto G for testing apps you need to turn on USB debugging in Settings > Developer options. Note: The Developer options are is hidden by default so if this is the first time you’re using the Moto G for development you’ll need to reveal them. To do this simply go to Settings > About phone and find the Build number (all the way at the bottom) – tap the Build number item several times and the Developer options will be magically enabled.
Install USB drivers
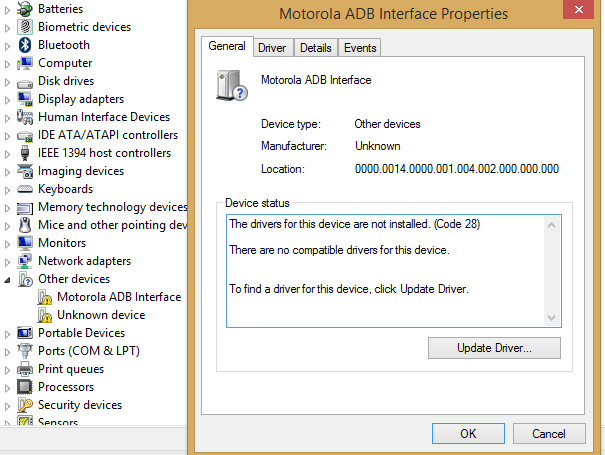
When you first plug your Moto G into your Windows machine via USB you’ll notice the device is accessible through Windows Explorer but there are no drivers installed for the device when you view it in Device Manager:
The Google USB Driver that can be downloaded/installed via the Android SDK Manager will not work for the Moto G. Instead, you need to get the drivers directly from Motorola by downloading and installing the Motorola Device Manager for Windows (there is a version for Mac OS X as well, although you shouldn’t need the drivers on the Mac).
Once you download and install the Motorola Device Manager you should be able to jump back into the Device Manager (Win+R; devmgmt.msc) and see that the device is now listed under Android Device and is has drivers properly installed:

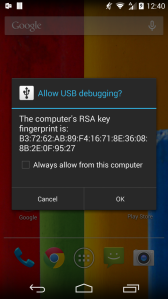
You will also notice an alert on your Moto G device asking you to allow USB debugging:
After you tap OK you will find the Moto G (Motorola XT1028) listed in Target Android Device drop-down in Visual Studio:
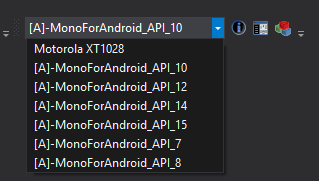
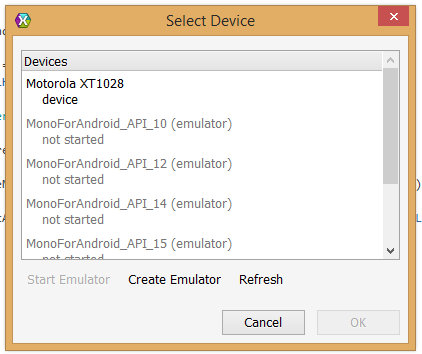
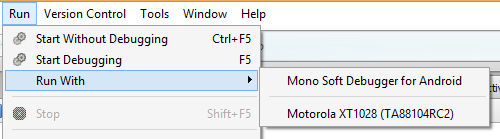
You can also find the Moto G (Motorola XT1028) listed in the Select Device dialog when you Start Debugging and in the Run With menu in Xamarin Studio:
You should now be all setup to use the Moto G in your Xamarin.Android development!