Making Professional Mobile Screenshots
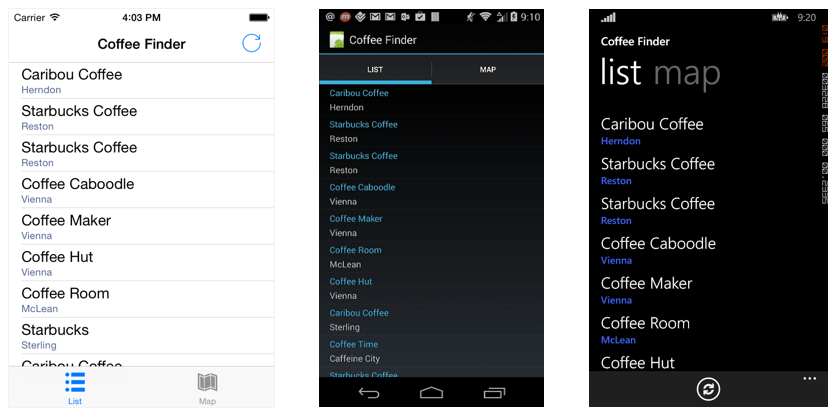
July 18, 2014As a mobile app developer you may often find yourself needing to display screenshots of your work – perhaps for documentation, a slide deck, app store submission, or even a proposal or some other marketing asset. Getting a screenshot of your app is pretty trivial – you can capture it from the device itself or within the various emulators. However, the screenshot is going to look rather plain and typically sans device frame (e.g., just the screen itself, no skin). There are several web-based resources you can leverage to take those screenshots from plain to professional without even opening Photoshop:
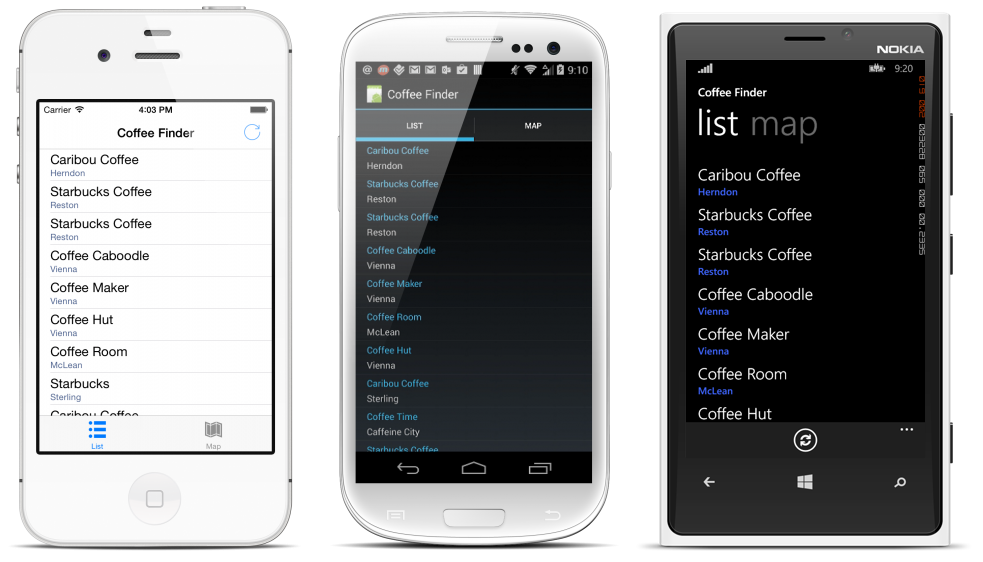
- placeit (https://placeit.net) – I find this resource most useful for building slides because it not only provides an actual device to frame your screenshot in but it also offers several environment scene options to help bring your app to life. I like to use these graphics as full-bleed backgrounds on slides for a rich, modern look-and-feel. They offer ‘stages’ for iPhone, iPad, various Android devices, and even the Microsoft Surface. Note: You’ll have to pay for the larger images but it’s definitely worth it)
- mockUphone (http://mockuphone.com) – This resource offers iOS, Android and Windows Phone frames with transparent backgrounds allowing you to place them anywhere for a seamless look. In addition to portrait and landscape, several of the iOS and Android options also include angled views as well.
- iPhone Screenshot Maker (http://iphone-screenshot.com) – Despite its name, this resource offers several iOS device frames as well as a couple for Android (and for the older Windows Phone 7). Depending on your needs you may be able to get away with just using one of these resources or a combination of them – either way hopefully this will help you quickly produce professional looking screenshots for all the mobile platforms your app is on.